How To Add A Hole In A Leather Belt
How To Add A Hole In A Leather Belt
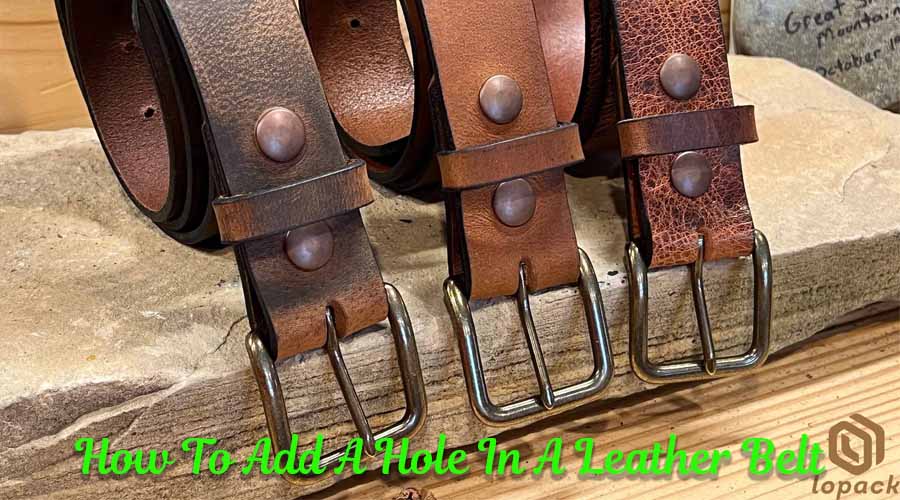
How to make a hole in a leather belt is a staple in any wardrobe, and having the right fit is essential for both comfort and style. But sometimes, off-the-shelf belts don’t fit quite right. In these cases, adding a hole to your leather belt can be the solution you need to achieve the perfect fit. In this article, we will guide you through the process of adding a hole to your leather belt and ensure that you end up with a comfortable and stylish belt that fits you perfectly.

Tools and materials required
Before you get started, you’ll need to gather a few tools and materials to ensure your belt modification is a success. Here is a list of what you’ll need:
Leather belt
The most important item you’ll need is a leather belt. Leather is a durable and long-lasting material that is perfect for adding a hole to. Choose a belt that is of good quality, as this will make the process easier and result in a better finished product.
Hole punch pliers
Hole punch pliers are a tool that is specifically designed for punching holes in leather. They have a sharp punch and an adjustable guide to ensure the hole is the correct size.
Ruler or measuring tape
A ruler or measuring tape is essential for accurately measuring the placement of the new hole in your belt.
Marker or pencil
A marker or pencil will be used to mark the spot where you want the new hole to be punched.
Preparing the leather belt
Now that you have all your tools and materials, it’s time to prepare your leather belt for the new hole.
Measuring the waist for the correct placement of the hole
The first step is to measure your waist to determine where the new hole should be punched. Measure the distance from the buckle to the spot where the belt is fastened, this is the distance that you want to be able to adjust your belt by.
Marking the spot for the new hole
Once you have measured the distance, you’ll need to mark the spot on the leather belt where the new hole will be punched. Use a ruler or measuring tape to ensure that the spot is accurate and then mark it with a marker or pencil.
Checking the placement for accuracy
Before you begin punching the hole, double-check the placement to make sure it is accurate. If the hole is not in the correct place, it can result in an uncomfortable or poorly fitting belt.

Punching the hole
Now that the leather belt is prepared, it’s time to punch the hole.
Setting the hole punch pliers to the correct size
Before punching the hole, set the hole punch pliers to the correct size for your leather belt. This will depend on the thickness of the leather, so refer to the instructions for your pliers or consult with a professional to ensure the correct size is used.
Placing the leather belt in the pliers
Place the leather belt in the pliers so that the mark is aligned with the punch.
Punching the hole through the leather
Squeeze the handles of the pliers to punch the hole through the leather. Be sure to apply enough pressure to ensure a clean, precise hole.
Inspecting the hole for clean edges
After punching the hole, inspect the edges to ensure they are clean and free of rough edges.
Finishing the leather belt
Now that the hole has been punched, it’s time to finish the leather belt.
Cleaning up any rough edges with sandpaper
If there are any rough edges around the hole, use sandpaper to smooth them out. Gently sand the edges until they are smooth and free of any rough spots. This will help prevent the leather from fraying or becoming damaged over time.
smooth them out. Gently sand the edges until they are smooth and free of any rough spots. This will help prevent the leather from fraying or becoming damaged over time.
Applying leather conditioner to the belt
Once the edges are smooth, apply leather conditioner to the belt to keep it soft and supple. Leather conditioner will also help to protect the leather from damage and extend its lifespan.
Testing the new hole for fit
Finally, test the new hole for fit to ensure that it is the correct size and that the belt fits comfortably. If necessary, make any adjustments to the hole or the leather belt until you are happy with the fit.
Conclusion
In conclusion, adding a hole to your leather belt is a simple and effective solution to achieving the perfect fit. By following these steps, you can personalize your leather belt to suit your needs and ensure that it is comfortable and stylish. Remember to take your time and be precise when measuring and punching the hole to ensure that you end up with a belt that fits you perfectly.
With these tips and a little patience, you can easily add a hole to your leather belt and enjoy a comfortable and stylish accessory for years to come. Happy modifying!


